Along with a few other batch-mates of the interaction design program 2019 I Embarked this journey of learning about electronics and how to prototype simple ideas with them.
The first step: Introduction to electronics
This was an exciting time when I started leaning about a basic electronic circuit, How to make my own electronic circuit, how to attach different components with it. The difference between LED’s connected in series and parallel. Calculating the resistance and the different types of LED’s. I got exposed to new prototyping materials from different types of conductive tapes, conductive threads and conductive paints. I started exploring these components in circuits. I figured out that a lot of simple ideas can easily be prototyped using basic materials like copper tape, conductive paint etc. The simpler the materials used the better the result.
Second: Introduction of microcontroller
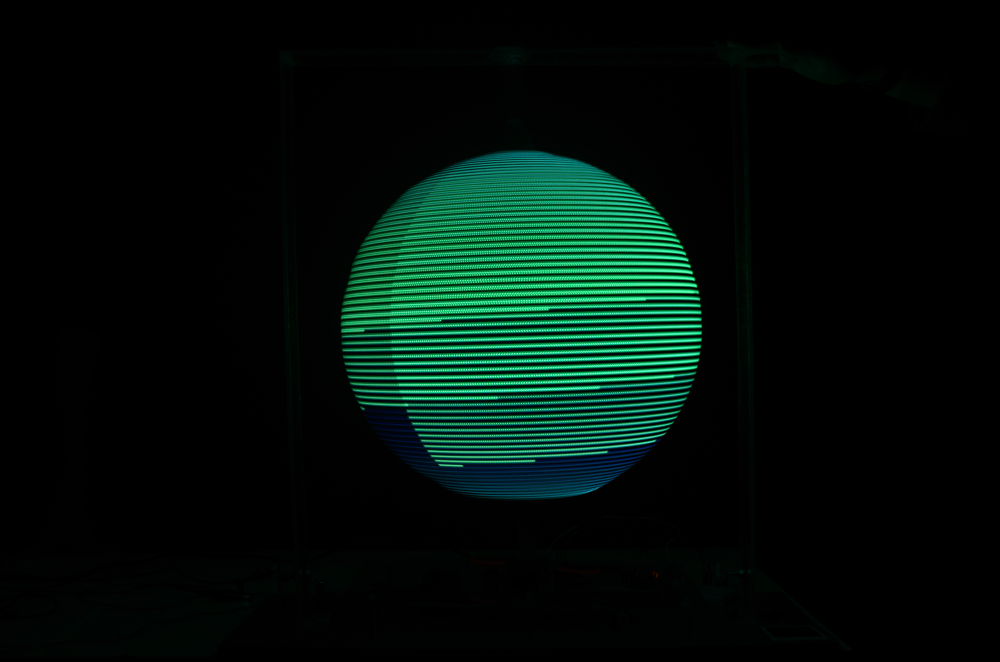
The challenge was to design a drawing machine and with my team we decided to investigate how images are actually drawn in our eyes i.e. how do we perceive images.
For this we had a twofold build, the physical construction of the installation, circuitry and the programming with Arduino.For this we used neopixel RGB LED strip and stuck it on the circumference of our rotating globe held together with a split disk ring. The second challenge was to assess the number of rotations per second and to send the LED strip a buffer signal at a particular point to switch on/off specific LED that would create a desired image. For this we used a hall sensor on the frame of our installation and stuck magnets on the circumference of the rotating globe. Every time the magnet would cross the hall sensor we would get the change in polarity and the position of the rotating shaft.
Learnings
- Build small and then scale up
We figured out that our rotating shaft was too big for the motor that we had running on the base, we had to connect additional motor with gears and fans to cool them down. - Benchmark ASAP
Benchmarking the amount of voltage supplied to the motor helped us streamline our values with the hall sensor and switching of LED’s - There is always a library out there
It is okay to build on top of existing libraries and on the code in the library examples, till the time we understood whatever changes we were making. - Version control
Saving the code after completing every function makes it easier to go back and debug the code.
Third: Physical computing and storytelling
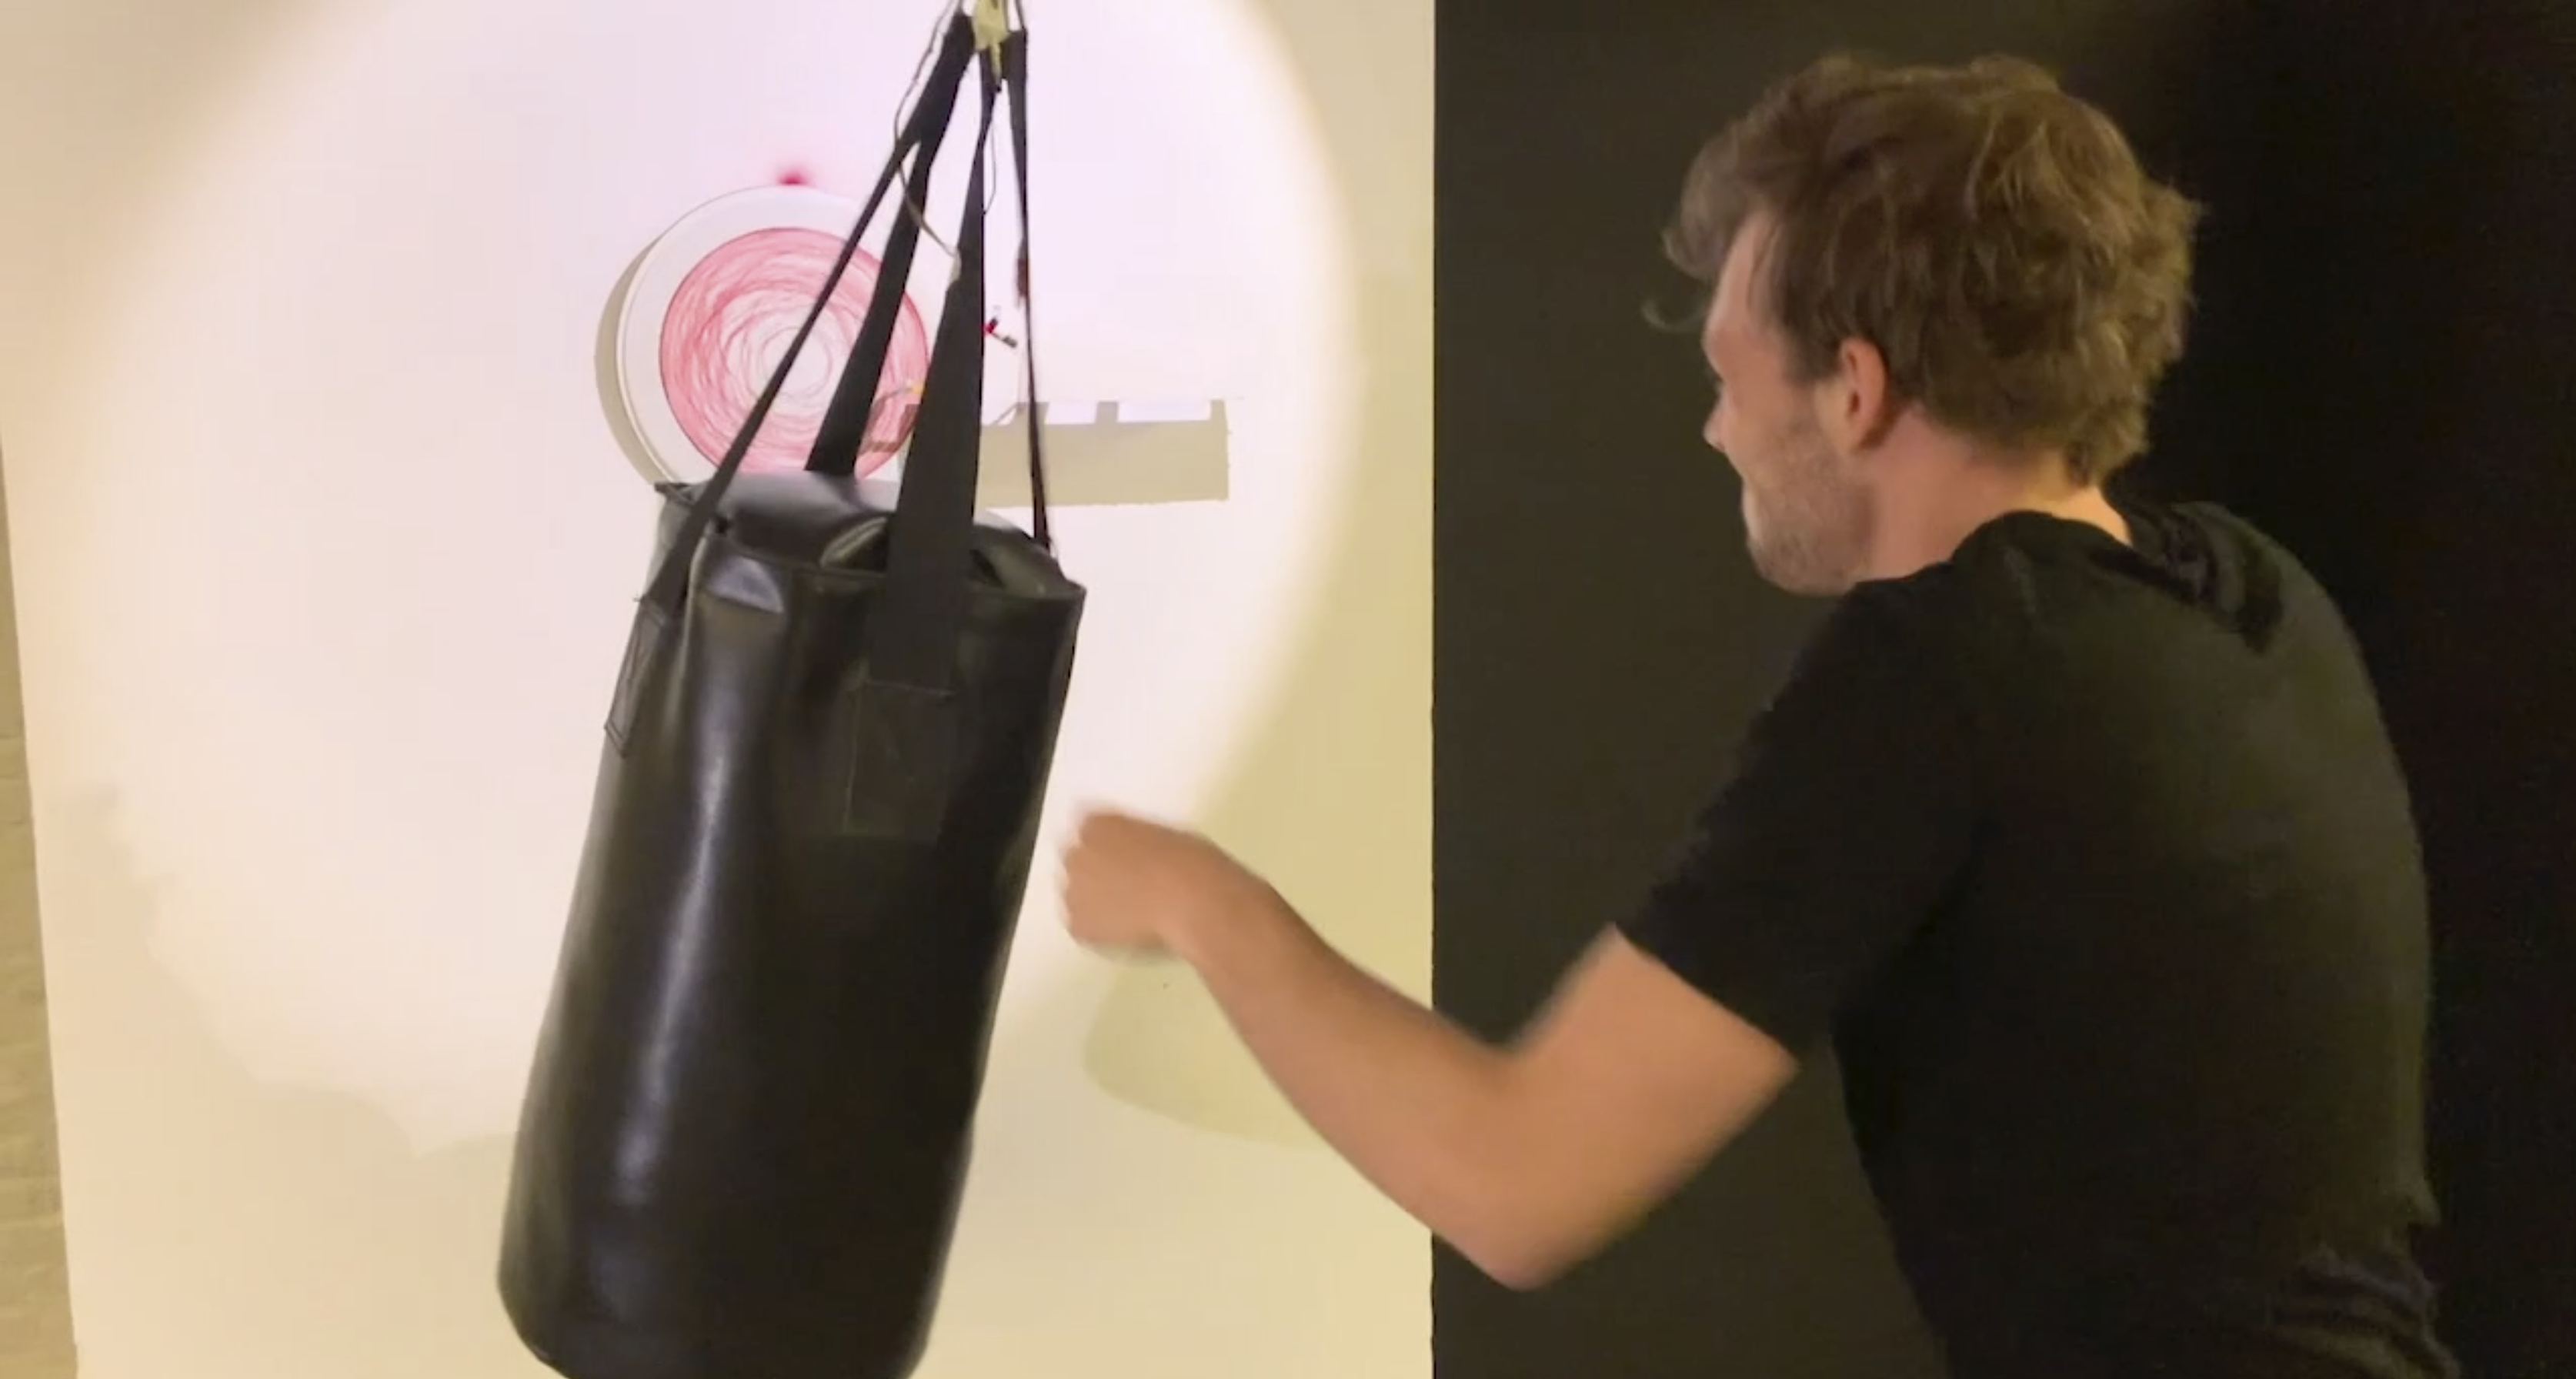
The team dived into the theme of how people cope with stress and anxiety. Some people join art therapy classes and paint to distract their mind; others cope better relieving stress with physical exercises. The aim of the installation was to connect both these stress relieving techniques to maximise a unique meditative experience.
A custom-made velostat (conductive sheet) pressure sensor detected every punch on the bag and translated it to the mandala drawing machine. The rate at which the drawing arm on the machine moved depended on the pressure with which one punched on the bag. A sound sensor on the bag detected the punches and rendered it into a visual output on the drawing machine in form of changing LED lights.
To put this idea into praxis the team had to overcome several challenges. These involved exploring a large variety of sensors best suited for the installation. Another challenge was to build a 3D printed drawing arm and calibrate it with the custom-made pressure sensor. Connecting all the components – the pressure sensor, lights, drawing arm and the rotating canvas together with multiple Arduinos and code, was the biggest challenge to overcome. Handling these complex variety of elements meant there had to be a structured process in place to troubleshoot the very different elements of this project.
Learnings
- Testing early and frequently
We realized the importance of putting different components together and testing them early to see if they have any dependencies on each other which might have been working perfectly fine individually. - Pull down resistor
Whenever there are too many moving parts, there is always static noise in the circuit. Which might affect the final output of the installation. - Handmade sensors
Sometimes using handmade sensors is much better than using ready made sensors from the market. In this case we realized the custom made handmade sensor with velostat and a felt membrane wrapped around the punching bag was much better than using multiple pressure sensors from the market. - Labelling the wires and the circuit
We realized the importance of using a proper color code and labeling the wires while debugging the circuitry. - Its okay to ask for help.
We learnt the circuitry and the coding over a span of 3 weeks and obviously there are going to be errors beyond our nascent knowledge of the subject. It’s okay to reach out for help till the time we are able to explain what we need help with!
Fourth: Biomimicry
I’ve always felt like pine cones are like introverts in nature. with a hard shell. but they open a little at night when no one is watching them. I wanted to convert this introvert feeling of being introvert to something physical. I decided to make this using a proximity sensor and motor. The concept was simple whenever the user was away from the lamp, it opened up and emitted more light and when the user was close the lamp almost shut down.
My main takeaway from the exploration was that It’s okay if the prototype looks scrappy till the time it is able to communicate the concept and the story line of the idea.


